

Picture a candle that melts the whole jar, not just a tunnel down the center. That even burn is the secret to a safe, long‑lasting fragrance and a cozy room that doesn’t feel like you’re watching a tiny flame chase its own shadow. If your candle keeps leaving those pesky black tubes, you’re probably missing a few simple tricks that most people skip when they’re too busy lighting it up.
First off, let’s talk about the wick. A wick that’s too thick or too thin can cause a flame that’s too hot or too weak. In our own studio, we’ve seen that a 1‑inch wooden wick works best for medium‑sized soy jars, giving a steady glow that keeps the wax pool evenly spread.
Next, consider the wax mix. Soy blends with a small percentage of beeswax or carnauba can raise the melt point, so the wax doesn’t shrink too quickly around the wick. That simple tweak helps maintain a uniform melt surface. We’ve tested a 75/25 soy/beeswax ratio and the candles kept the edge of the jar intact for a full 40 hours of burn time.
Then there’s the patience thing. Let the candle cool slowly for at least an hour after each lighting. If you rush it, the wax contracts and forms a tunnel. Some folks use a silicone ring around the jar to keep the wax level high; it’s an easy DIY trick that keeps the flame from “dripping” in the middle.
Want more on how to keep your candle looking flawless? How to Fix Candle Tunneling: Simple Steps for Even Burning covers a few extra safety checks that work like a charm.
And if you’re looking to give a candle a personal touch, consider pairing it with a custom bottle from Quench Bottles. Their locally printed, durable drinkware is perfect for creating a complete home spa or holiday gift set that feels truly bespoke.
TL;DR
If tunnels keep popping up, the secret to how to make candles burn evenly is simple: pick a 1‑inch wooden wick, blend 75% soy with 25% beeswax, and let the jar set. Cool the jar after light; this stops contraction tunnels and lets the wax melt from edge to edge.
Step 1: Select the Right Wax
Choosing the right wax feels like picking the right pair of shoes—too hard, and you’ll crumble; too soft, and you’ll slip. The key is balance, and that balance starts with understanding what each wax brings to the table.
So first, let’s talk soy. It’s the workhorse of many candle makers: affordable, clean‑burning, and a perfect canvas for your favorite scent oils. But soy alone can be a bit shy; it melts at a lower temperature and may shrink around the wick, creating those dreaded tunnels.
That’s where beeswax steps in. A 20‑30% beeswax blend bumps up the melt point and adds a subtle honey undertone that many of our customers love. If you’re looking for even more solidity, a touch of carnauba—often called “candle wax royalty”—can give you that extra snap without the cost of real carnauba.
In practice, a 75/25 soy‑to‑beeswax ratio has been a safe bet for us. It keeps the wax pool high, the scent throw strong, and the burn time predictable. If you’re experimenting, keep a small test batch handy; that way you can tweak the ratio without wasting a full jar.
When you mix, remember the rule of thumb: add your fragrance oils after the wax has cooled to about 120°F (49°C). At that temp the oils disperse evenly and won’t settle at the bottom or float to the top.
Some folks love additives like stearic acid for a firmer set or lavender buds for a natural boost. Add just a few teaspoons—too much can make the wax too hard, and you’ll end up with a candle that’s difficult to trim.
Want to keep your candles looking brand‑new? Printing your own labels can save a ton of time and cost, especially for holiday batches. Check out JiffyPrint Online for affordable, high‑quality labels that let your brand shine.
And if you’re into natural, plant‑based additives, a quick detour to Five Best Natural Remedies can give you ideas for essential‑oil blends that pair beautifully with soy‑beeswax mixes.
Now that you’ve got your wax and additives sorted, let’s walk through the pouring process—step two in our candle‑making recipe.
The video above gives a quick visual on how to handle the wax when it’s hot and how to watch the first pour for evenness. Notice how the wax level sits right at the jar’s edge—no gaps, no excess.
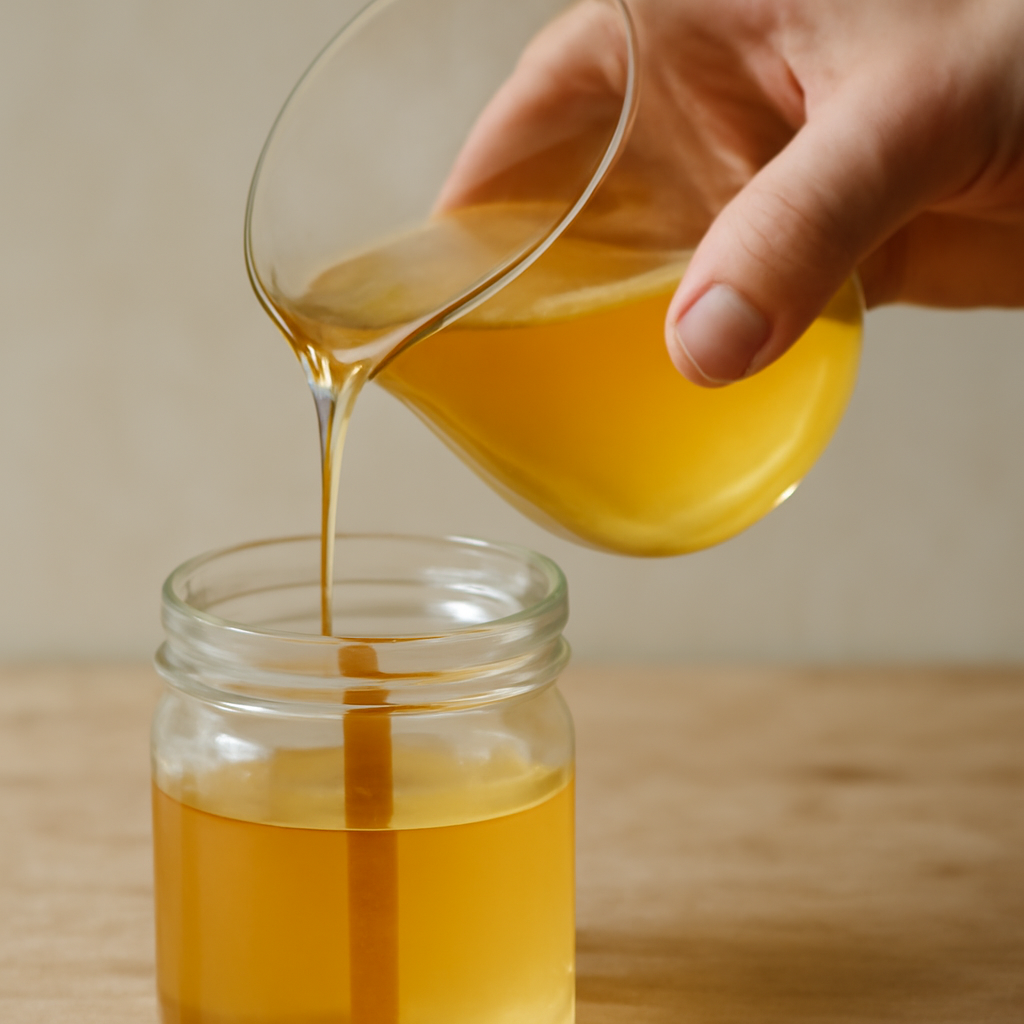
Remember to let the wax cool just enough that it’s still fluid but not dripping. When it solidifies, you’ll see that the edges are intact and the wick is centered. If you notice any unevenness, simply give the jar a gentle shake; the wax will redistribute.
Now you’re ready to move on to selecting the right wick, but the foundation you’ve laid with your wax will keep your candle from tunneling and ensure a long, even burn.
Step 2: Choose an Appropriate Wick
So, you’ve got the wax ready and the jar waiting. The next big decision? The wick. Think of it as the heart of the candle – without the right pulse, the whole thing can go off‑beat.
Material Matters
Wicks come in a handful of flavors. Cotton is the classic, easy‑to‑trim option that burns clean in most soy blends. Wooden wicks, on the other hand, add a gentle crackle and a slightly larger flame – great for a cozy, rustic vibe. In our studio, we’ve found that a cotton core wrapped in a thin beeswax shell works beautifully for everyday soy jars, while a solid cedar or maple core gives that rustic pop in larger, specialty candles.
Why the difference? Cotton fibers are porous, pulling in wax like a sponge. Wooden wicks rely on the wood’s natural combustion rate and the insulating properties of the surrounding wax. That means a wooden wick can stay hotter, which is perfect when you want a steady scent throw but can also lead to tunneling if you’re not careful.
Size Matching
The rule of thumb that keeps the burn even is simple: the wick’s diameter should be roughly 25‑30% of the jar’s inner width. So, a 4‑inch jar usually pairs with a 1‑inch wick. For a 3.5‑inch jar, step down to 0.75‑inch. If the wick feels too big, you’ll see a mushroomed tip and the sides will dry out fast. If it’s too small, the flame will be shy, and the wax won’t melt all the way to the edge.
When you’re experimenting, make a quick test batch. Light one candle, let it burn for about an hour, and check the melt pool. It should reach the jar’s rim without dripping down the center. If it doesn’t, try a slightly larger wick or reduce the fragrance load. If it’s too hot, trim the wick or switch to a thinner core.
Wick trimming is another simple trick. For cotton wicks, cut the tip to about ¼ inch. For wood, trim to ⅛ inch. This keeps the flame size in check and prevents a runaway fire. Remember: the first burn is the most important. Let it melt all the way to the edges before you blow it out. That “memory” of the wax will guide subsequent burns and keep the candle looking fresh.
Fragrance load plays a role too. A heavier scent can raise the melt temperature, which means a larger wick may be needed to keep the flame steady. If you’re working with a strong lavender oil, for example, consider stepping up from a 1‑inch to a 1‑¼‑inch wick in a 4‑inch jar. Conversely, a light vanilla scent might work perfectly with the standard size.
Testing & Fine‑Tuning
Once you’ve chosen a wick size, run a 3‑step test: first, a short “dry burn” of 30 minutes to gauge flame size; second, a full burn until the wax reaches the rim; third, a final burn to confirm consistent melt. Note any signs of tunneling, excess soot, or uneven scent release, and adjust accordingly.
It helps to keep a small log. Record jar size, wick type, wick diameter, fragrance weight, and burn time. Over a few batches, patterns will emerge and you’ll know exactly what works for each candle design.
At Evolve Botanica, we take this precision seriously. Our candles feature a 75/25 soy‑bees blend that keeps the heat steady, and we pair it with the right wick based on the jar and fragrance load. That’s why our holiday jars burn all the way from edge to edge for nearly 40 hours of pure scent and glow.
Final checklist before you pour:
- Measure jar width and pick a wick 25‑30% of that size.
- Trim the wick tip to the recommended length.
- Light for at least 2‑4 hours the first time so the wax melts to the rim.
- Observe melt pool: it should touch the jar edge without over‑melt.
- Adjust fragrance load if the flame feels too large or too small.
With the right wick in place, the rest of the candle‑making process—pour, cure, trim—becomes a smooth, repeatable routine that keeps your candles burning evenly every single time.
Step 3: Add Additives or Fragrance Carefully
Now that your wax and wick are matched, it’s time to bring in the scent. Think of fragrance like seasoning a stew—you want enough flavor to lift the whole thing but not so much that it overpowers the base.
First, settle on a fragrance load. Most soy or soy‑bees blends run best at 5‑10% fragrance oil by weight. That means for every 100 grams of wax, you’re adding 5 to 10 grams of oil. If you go higher, you risk “hot spots” that can scorch the wax or cause uneven burning.
So, how do you keep the fragrance from turning your candle into a fire hazard? Keep the temperature in check. Heat the wax to about 180–185°F, then remove it from the stove and stir in the fragrance. Don’t let the wax stay on the heat for more than a minute after the oil is added—over‑heating can break down the scent molecules.
Now let’s talk additives that smooth out the burn. Stearic acid is a classic choice; add 1–2% of the total wax weight and you’ll harden the surface, reducing shrinkage and preventing those nasty “doughy” edges. Another tweak is vitamin E oil—just a 0.5% splash not only extends shelf life but also helps the fragrance disperse evenly.
Curious about fixers? Fixing agents, like essential oil fixatives or synthetic fragrance fixers, bind the aroma molecules and give you a stronger scent throw. If you’re using a citrus oil, for instance, a small dose of a natural fixator can keep the aroma from flaring too quickly and fading after the first burn.
Testing is the best teacher. Pour a small “test candle”—maybe 50‑gram batches—so you can tweak fragrance load and additive ratios without wasting a lot of materials. Light it for an hour, watch how the melt pool spreads, and note if the scent throws to the room or stays near the flame.
Do you notice a lot of soot or a tiny tunnel after the first burn? That’s a sign the fragrance was too hot or the load was too high. Reduce the oil by 1–2% or add an extra 0.5% stearic acid to counteract the heat.
When you’re ready for a full-size batch, follow this checklist:
- Measure your wax weight.
- Calculate 5–10% fragrance load.
- Heat to 180–185°F, then add fragrance.
- Stir for 30–60 seconds.
- Add 1–2% stearic acid if needed.
- Stir again, pour, and let cool.
In our studio, we’ve found that a 6% lavender oil load with 1.5% stearic acid gives a silky, long‑lasting scent that spreads evenly in a 4‑inch jar. The same formula works in a 6‑inch jar if you bump the wick up a half‑inch to match the increased surface area.
Safety is a non‑negotiable. Work in a well‑ventilated area, use a thermometer to avoid scorching, and keep a fire extinguisher handy—just in case. If you’re in a drafty spot, the wax can cool too quickly on the sides, creating a tunnel.
Remember, the goal isn’t just to make a candle that burns; it’s to make one that smells like a hug. Additives are your secret sauce—use them wisely, test small, and tweak until the melt pool reaches the edge every time.
At Evolve Botanica, we source our beeswax and essential oils locally, so you’re getting fresh, ethically harvested ingredients that make these additives even more effective. Next time you’re mixing a batch, think of it as a recipe where precision and patience pay off.
If you’re still curious about how beeswax can affect the burn, check out this guide on non‑toxic beeswax candles.
Step 4: Control the Burn Temperature
All the wax, wick, and fragrance gymnastics you’ve done so far are great, but if the flame’s temperature is off, even the best‑crafted candle still falls into a tunnel.
Think about it: a candle that burns too hot will melt the center way faster than the edges, leaving a dark, dry rim behind. It’s like pouring soup into a pot that’s been left on too high a flame—everything rushes to the top, and the bottom ends up under‑cooked.
So, what’s the trick? Keep that flame just right—low enough to melt the surface, high enough to keep the scent alive. It’s a balance that takes a bit of practice, but once you master it, the burn feels like a smooth, steady wave of light.
First, use a reliable thermometer. We’ve seen people skip this step, guessing temperatures, and the result is always unevenness. A cheap digital kitchen thermometer is a lifesaver—read the reading quickly, then adjust the burner or the stove.
Here’s a quick rule: for soy‑bees blends, aim for 120–130°F when you’re ready to pour. For harder waxes like beeswax alone, pull the temperature up to 140–150°F. The goal is to keep the wax at a temperature that melts the outer layer without boiling it off.
Why 120–130°F? Because at that range the wax remains pliable enough to flow around the wick, but not so hot that it creates a surface film that cools instantly, forming a crust. A crust is your cue that the burn will be uneven.
Do you have a stove that can’t stay steady? Use a hot plate with a low‑heat setting. If you’re working in a drafty kitchen, keep a fan or open window at bay. Drafts make the flame lean, which in turn creates uneven heat distribution across the jar.
Another tip is to let the candle cool in a draft‑free place for at least 30 minutes before the first lighting. That cooling period ensures the wax has settled, reducing the chance of the flame jumping to hot spots.
Let’s walk through a quick routine:
- Heat the wax to the target temperature.
- Stir in fragrance at 180–185°F—just enough to keep scent molecules intact.
- Let the mixture cool to the pouring temperature.
- Pour slowly; keep the pourer steady to avoid bubbles.
- Once poured, wait 15–20 minutes for the top layer to firm up.
- Light the first time, and let the flame sit until the melt pool reaches the rim.
That first burn is a memory burn. It trains the wax and wick to behave consistently in subsequent uses. Think of it like a warm‑up in sports: the more you practice that initial burn, the less you’ll see tunneling later.
Now, let’s put a visual aid to help you decide the right temperature for your candle mix.
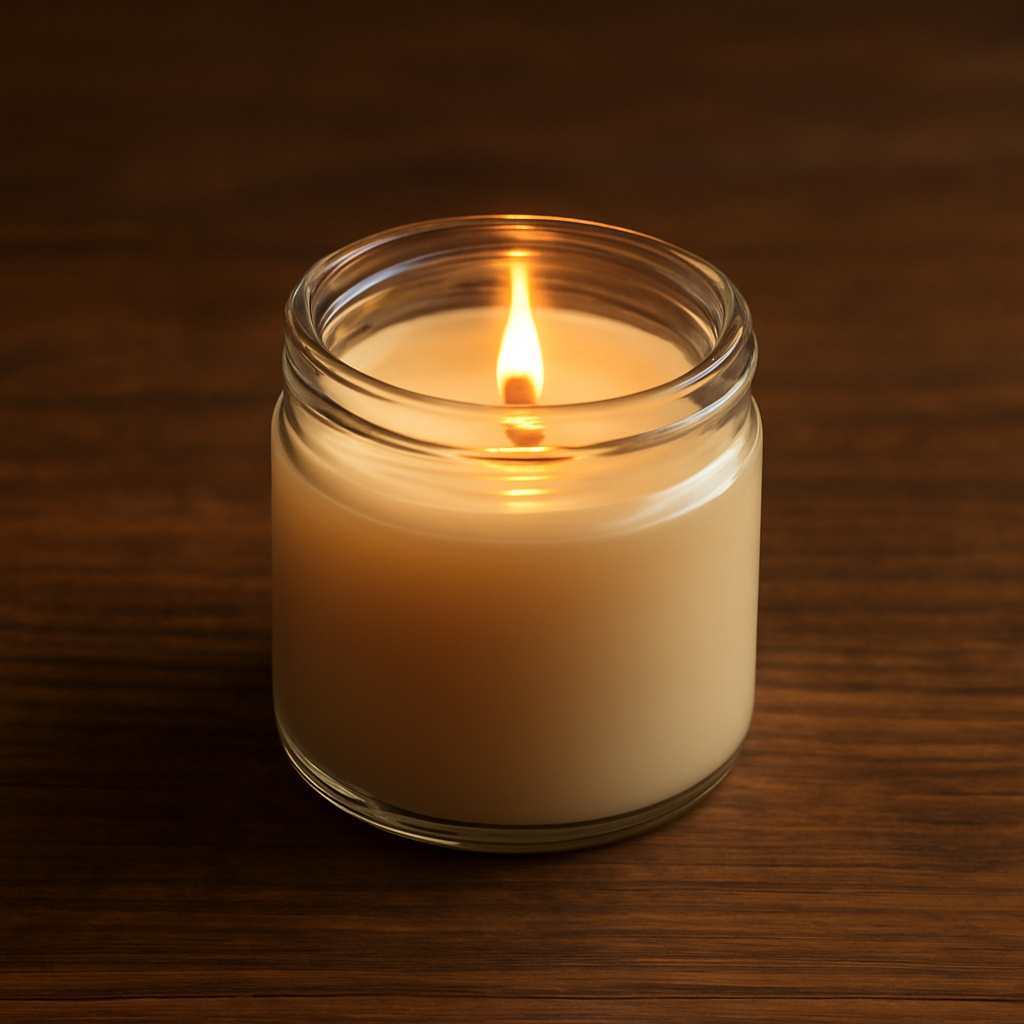
Below is a quick comparison table of common wax blends and their ideal pouring temperatures, plus a note on what to watch for during the burn.
| Wax Blend | Pouring Temperature (°F) | Burn Tip |
|---|---|---|
| 75/25 Soy‑Bees | 125–130 | Check for crusty edges; adjust to 130 if needed. |
| Pure Beeswax | 140–145 | Watch for rapid melting; keep stove low. |
| Soy with 1.5% Stearic Acid | 120–125 | Stearic acid helps harden edges; lower temp keeps scent intact. |
Finally, remember that temperature control isn’t a one‑off task. Every batch, even from the same kit, can vary slightly due to ambient heat, altitude, or oven differences. Keep a log of the temperatures you used, the resulting burn time, and the melt pool behavior. Over time, you’ll spot patterns and adjust the target temperatures with confidence.
Curious about how others are mastering these numbers? Learn more practical steps for burning candles evenly. If you want a deeper dive into wax science, this guide breaks it down for you.
Step 5: Practice a Consistent Pouring Technique
We’ve talked about wax, wick, temperature—now the heart of the matter is the pour itself. A steady hand and a rhythm that matches the wax’s mood are what separate a professional candle from a backyard experiment.
First thing, grab a pourer that feels comfortable. If you’re using a metal ladle, make sure the handle isn’t hot.
Imagine you’re pouring coffee into a cup. Too fast and you splash, too slow and the coffee cools. The same principle applies to wax.
Here’s a quick rhythm you can use: pour for three seconds, pause for two, pour for two, pause for one, then finish.
Check your container. A wide‑mouthed jar spreads heat more evenly than a tall, narrow one, so the pour can be slightly slower.
Now about the temperature drop. Once the wax hits the jar, it cools. If it drops too fast, the surface can solidify before the center melts, setting up a tunnel.
Do you use a heat‑resistant glove? If so, great. If not, a heat‑proof kitchen towel works too. The goal is to keep your hands safe while you’re controlling the pour.
Another trick: mark the jar with a piece of masking tape or a small dot of nail polish at the 1‑inch level. When the pour reaches that marker, stop and let it settle. It gives you a visual cue so you don’t over‑pour or leave a thin rim.
During the pour, keep an eye on the flame. If it flickers wildly, the wax temperature may be off. A steady flame means the wax is close to the ideal pour temperature. If you notice a sudden surge, pause and let it calm before resuming.
When the wax has filled the jar, lift the pourer slowly and let the wax drip off. A drip can create a small puddle that later refreezes into a hard edge. Let the wax pool naturally; if it starts to rise too quickly, tilt the jar slightly to let the excess flow back toward the center.
After pouring, give the candle a small, controlled “first burn” test. Light it, let it burn for 30 minutes, then blow it out. This initial burn tells the wax how to behave in future lighting. If it tunnels, tweak the pour speed or the pour temperature next time.
Every batch is a lesson. Log the pour time, the temperature you used, and how the wax behaved. Over several batches, you’ll see a pattern: maybe a 125‑°F pour works best for your 4‑inch jars, while a 130‑°F pour is perfect for the 6‑inch ones.
Remember, consistency is key. The more you practice the same pouring rhythm, the less room there is for error. It’s like a muscle memory exercise—once you’ve mastered it, your candles will melt from edge to edge without that pesky tunnel.
So, what should you do next? Pick up your pourer, set the timer, and treat each pour like a little experiment. The more you refine your technique, the closer you’ll get to that perfect even‑burn candle you’re after.
Step 6: Establish a Candle Maintenance Routine
Now that your candle is set to burn evenly from the first pour, the next step is keeping it that way every single time.
Keep the Wick in Check
Your wick is the heart of the flame. If it gets too long, the flame grows; if it’s too short, the wax stays cold and tunnels.
Before lighting, trim the wick to about a quarter of an inch. It’s quick, almost painless, and can mean the difference between a smooth melt and a black, uneven edge.
Trim for Clean Burn
After each use, give the candle a quick trim again. A clean tip reduces soot and keeps the flame steady. If you notice a mushroom‑shaped tip, trim it back to a neat square.
Use a simple wick trimmer or a pair of sharp scissors; just be sure not to leave any bits in the wax pool.
Store Like a Pro
Candles love a cool, draft‑free environment. Avoid windowsills, radiators, or sunny spots where heat can create uneven contractions.
Place your jar on a stable surface with a lid or a light cover. A small cloth or paper towel keeps dust out and preserves that even burn.
Clean the Jar
Over time, wax drips and tiny crystals build up on the inside. Wipe the interior with a soft cloth or a paper towel soaked in a gentle soap solution. This removes residue that can interfere with heat distribution.
Don’t rush—let the jar dry completely before lighting again. A clean vessel lets the wax melt evenly.
Build a Simple Log
Keep a short notebook or a digital note on your phone. Log the jar size, wick type, fragrance load, and the burn time of each session.
After a few entries, you’ll notice patterns: maybe you need a longer trim after a 10‑hour burn, or a tighter storage spot reduces drafts. That data turns routine care into science.
When you see a trend, adjust your routine accordingly—maybe you trim once a week instead of after every burn, or you store all jars in one drawer to keep temperature consistent.
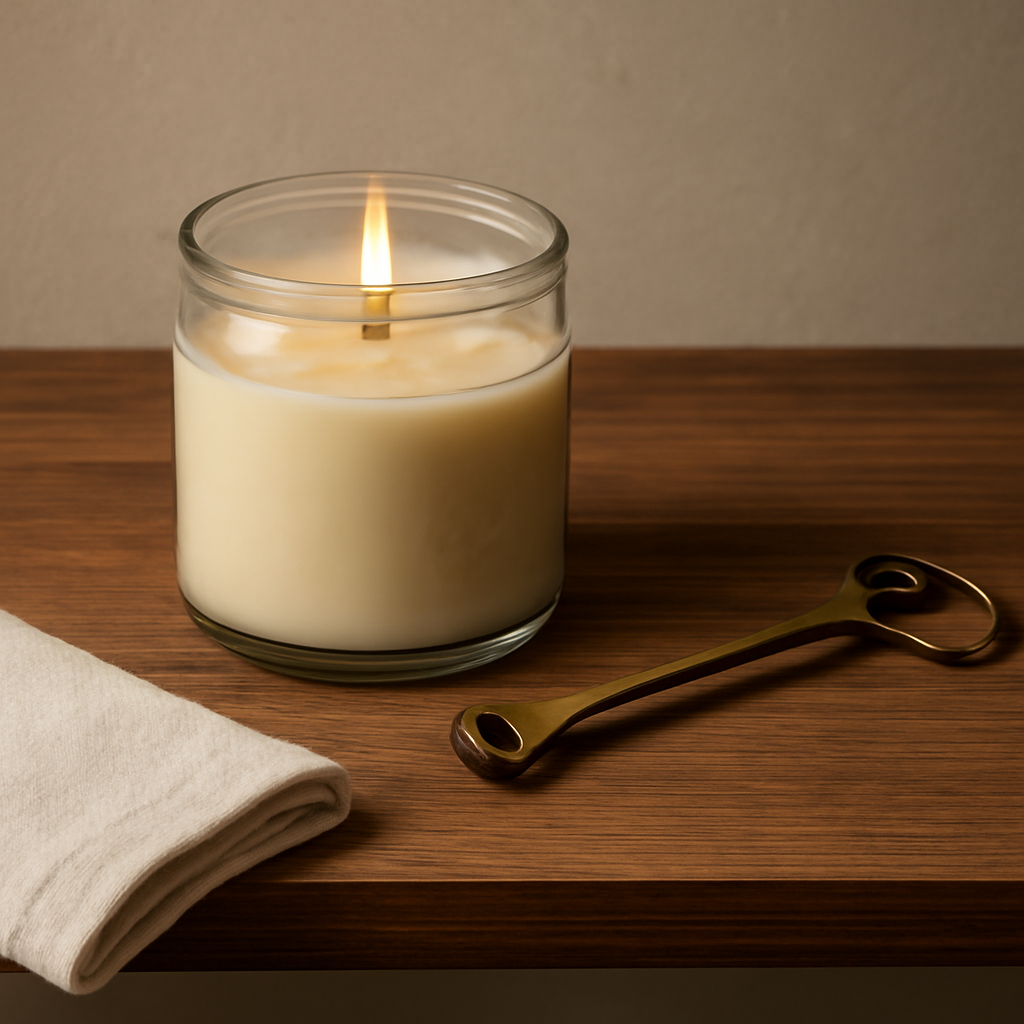
Want more on why these habits matter? A great read on candle care tips explains how proper trimming and storage can extend burn time by up to 25% and cut soot by half: How to Make Candles Burn Evenly.
Remember, a maintenance routine isn’t a chore—it’s the secret recipe that keeps your candles glowing beautifully, scenting evenly, and lasting longer. Treat each candle like a little friend that deserves a little TLC, and your evenings will feel richer than ever.
FAQ
Why does my candle keep tunneling even when I trim the wick?
Even with a perfectly trimmed wick, tunneling often points to a mismatch between wax, fragrance load, and room temperature. If your soy‑bees blend cools too fast around the edges, the center will stay hot longer. Heavy oils can raise the melt point, creating hotspots. Lower the fragrance load slightly, let the candle cure fully, and keep it away from drafty spots to level the heat.
How can I tell if my wax blend is too hard or too soft?
A quick test: pour a small batch, let it cool, then press a fingernail into the surface. If it leaves a deep indent, the wax was too soft and may melt unevenly. A shallow mark means the wax is hard enough to hold shape but may crack. Adjust by adding a small amount of stearic acid for firmness or a pinch of beeswax for softness.
What’s the best way to store my candles to prevent uneven burn?
Store candles in a cool, dark place with stable temperature. Avoid windowsills or near radiators where heat creates drafts. Keep jars in a drawer or on a shelf with a lid or cloth cover. If you notice a slight slope in the wax when you open the jar, rotate it before lighting; this keeps the melt pool even from the start.
Can fragrance type affect how a candle burns?
Yes. Strong citrus or peppermint oils can raise the melt point and create hotspots, while lighter floral oils stay cooler. Pairing a high‑load fragrance with a larger wick may help, but if you’re still seeing tunnels, try reducing the oil percentage by 1–2%. Keep the fragrance below 10% for most soy blends to maintain an even pool.
What’s the role of the first burn in ensuring evenness later?
The first burn is a training session for the wax. Light it for 2–4 hours, letting the flame melt the wax all the way to the edge. This sets a pattern that subsequent burns follow. If you cut the wick early, the wax might not have time to spread. Make sure you let the first burn run until the melt pool reaches the rim before blowing it out.
How often should I trim the wick after each use?
Trim the wick to about a quarter‑inch after every light. A long wick grows a big flame, causing the center to melt faster than the edges. A short, clean tip keeps heat balanced. If you see a mushroomed tip or black soot, trim more aggressively. Consistent trimming is the simplest way to keep the burn even.
Is there a quick check I can do before lighting to avoid tunneling?
Look for a shallow, even melt pool that touches the jar edges. If the wax is still solid at the rim, let the candle sit another 15–30 minutes. Check that the room temperature is moderate; a 70‑F room works best. A quick visual test saves you from a half‑tunneled candle later.
Conclusion
We’ve walked through every trick, tweak, and test you need to make candles burn evenly. From choosing the right wax blend to mastering that first training burn, each step builds a habit that keeps the melt pool humming.
What’s the big takeaway? Consistency beats complexity. If you keep a simple log—jar size, wick choice, fragrance load, and burn time—you’ll spot patterns faster than any fancy software.
Remember, the goal isn’t to chase perfection; it’s to create a reliable ritual. Light that first candle, let it melt to the rim, and let it set the tone for every future burn.
Feeling stuck on a specific jar or scent? Try swapping one variable at a time: a slightly thicker wax, a thinner wick, or a 1–2% stearic acid addition. Small changes add up to a smoother burn.
So, grab your thermometer, your favorite wax, and your trusty wick. Light up, observe, tweak, and repeat. You’ll soon notice the glow spread evenly, the scent unfurling without that dreaded tunnel.
Now that you’re armed with the basics, let your creativity flow and your candles light up your space—one even burn at a time.
0 comments