

Ever finished a favorite candle and stared at that empty jar, wondering what on earth to do with it?
You're not alone—most of us have that moment when the scent fades but the pretty container sits there, begging for a second life.
That's the whole point of learning how to reuse candle jars: it saves you a few bucks, cuts down waste, and lets you get a little extra style out of something that would otherwise end up in the trash.
Imagine turning that glass into a mini‑terrarium for succulents, a chic bathroom toothbrush holder, or even a DIY oil diffuser that keeps your home smelling fresh for weeks.
So, what if you could give those jars a purpose that matches the vibe of your home?
In our experience at Evolve Botanica, we love seeing customers repurpose jars in ways that echo the natural, handcrafted feel of our candles—like filling them with homemade herbal tea blends or using them as elegant spice containers on the kitchen counter.
Below, we’ll walk through a handful of simple, low‑cost projects that anyone can try, whether you’re a seasoned crafter or just looking for a quick, satisfying fix.
We'll cover everything from the basics of cleaning out wax residue (a quick tip you’ll want to bookmark) to creative ideas that let you match the jar to the season, your décor, or even a thoughtful gift for a friend.
Beyond the aesthetics, giving those jars a second life reduces landfill waste and aligns with our commitment to eco‑friendly living—something we champion in every product we craft.
Plus, it adds a personal touch to any room.
Ready to turn those leftover jars into something useful and beautiful? Let’s dive in and explore how to reuse candle jars in ways that feel personal, sustainable, and a little bit magical.
TL;DR
Discover quick, budget‑friendly ways to give your empty candle jars new life, from mini‑terrariums to stylish storage solutions. We’ll show you exactly how to reuse candle jars safely, clean them with our simple method, and customize each project so your home feels greener and uniquely yours effortlessly today for you.
Step 1: Clean and Prepare Candle Jars
Ever stared at that empty glass, wondering if the waxy residue is a deal‑breaker? Trust me, you’re not alone. The good news? A quick clean turns that jar from “meh” to a fresh canvas for whatever you dream up next.
First thing’s first: let the candle cool completely. If you try to scrape while it’s still warm, the wax will just smear and stick to your fingers. I always give it an hour or two—think of it like letting a good conversation settle before you dive into the details.
Once it’s solid, grab a butter knife or a plastic scraper and gently nudge the bulk of the wax into a disposable container. It’s okay if a few stubborn bits cling to the sides; we’ll melt those away in the next step.
Now for the melt‑away trick: fill a saucepan with a couple of inches of water, place the jar in, and bring it to a gentle simmer. The wax will melt off, sinking to the bottom. Keep an eye on it—once the water’s clear, pop the jar out and let it dry on a towel. It’s a simple, kitchen‑friendly method that doesn’t require any fancy tools.
But what if you’re short on time? A quick dip in hot, soapy water does the trick for most residue. Just be sure to rinse thoroughly; any soap left behind can affect later projects, especially if you plan to use the jar for food‑related storage.
For an extra sparkle, dry the inside with a lint‑free cloth and give the exterior a wipe‑down using a mixture of equal parts white vinegar and water. That’ll remove any leftover scent and leave the glass looking crystal‑clear—perfect for displaying a fresh bouquet or a tiny succulent.
When you’ve got a spotless jar, it’s the perfect moment to think about personalization. That’s where a little help from custom printed labels from JiffyPrintOnline can make a world of difference. Slip a label onto the jar, add a handwritten note, and you’ve got a thoughtful gift or a chic pantry organizer without the DIY guesswork.
Need inspiration for what to do with your clean jar? Imagine turning it into a mini‑vase for a fresh cut‑flower from Gratitude Studios. Their vibrant landscape prints could double as a backdrop for a single stem, turning a simple glass into an artful display.
Now that the jar is clean and you’ve got a vision, the next logical step is to learn the finer points of removing any stubborn wax remnants. Our detailed guide walks you through that process step‑by‑step, so you won’t miss a trick.
Check out How to Clean Candle Jar: Step‑by‑Step Guide for Reusable Containers for a deeper dive into the cleaning routine, including tool suggestions and safety tips that keep your workspace tidy.
Finally, give the jar a quick once‑over with a dry microfiber cloth to banish any water spots. If you’re planning to use the jar for something like a terrarium, a quick wipe with a little rubbing alcohol will sterilize the interior, ensuring your plants stay healthy.
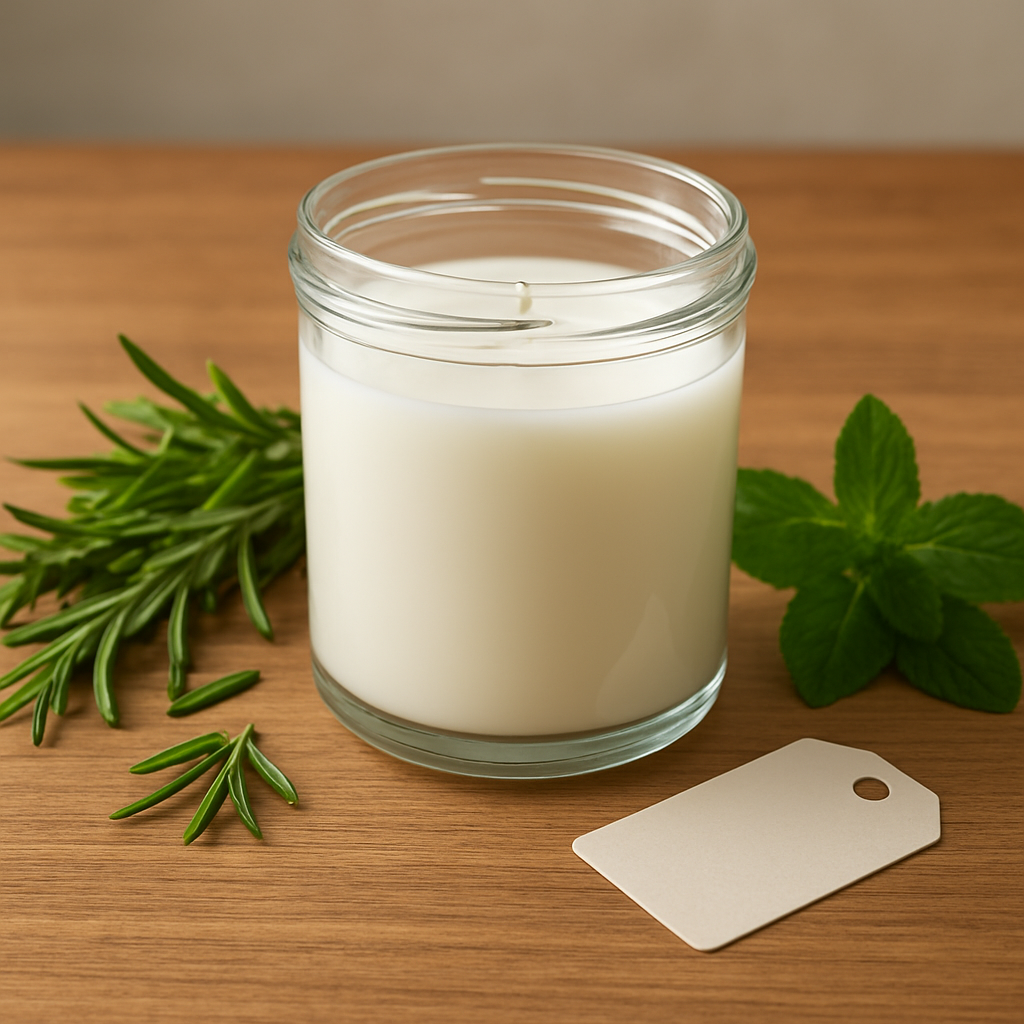
Step 2: Turn Clean Jars into Storage Containers
Now that your jar is sparkling clean, it’s time to give it a purpose beyond holding leftover wax. You’ve already done the hard part – the rest is all about turning that blank canvas into something useful and pretty.
Picture the tiny chaos on your bathroom vanity: cotton balls, Q‑tips, a few stray hair ties. Or think about the kitchen drawer that’s bursting with tea bags, loose leaf herbs, and a rogue paperclip or two. A clean candle jar can tame that mess while adding a touch of charm.
Pick a Theme that Fits Your Space
Before you start filling, decide what vibe you want. Are you leaning toward a rustic farmhouse look, a sleek modern aesthetic, or maybe a boho‑garden feel? The theme will guide the accessories you add – a piece of twine, a metal lid, or a tiny label.
Does a theme help you visualize the end result? Absolutely. It makes the whole process feel less like a chore and more like a mini‑design project.
Step‑by‑Step: From Empty Jar to Handy Storage
- 1. Dry the Jar Inside Out. Give the interior a quick tumble upside‑down on a clean towel. Any moisture can cause mildew later.
- 2. Add a Base (Optional). For items like tea bags or small spices, place a thin slice of parchment paper or a piece of decorative fabric at the bottom. It keeps things from sliding around.
- 3. Fill with Your Chosen Items. Toss in cotton swabs, makeup brushes, herbal tea sachets, or even tiny succulents if you’re feeling green‑thumbed.
- 4. Secure the Lid. If the original lid is still in good shape, snap it back on. For a more polished look, wrap a piece of jute twine around the lid and tie a small bow.
- 5. Label It. A chalkboard label or a handwritten tag tells you (and anyone else) what’s inside without guessing.
Need some inspiration? The Instrupix guide shows dozens of clever ways to use repurposed jars for office supplies, craft bits, and bathroom essentials. It’s a quick scroll and you’ll see how a single jar can become a mini‑drawer for paperclips or a decorative pot for dried flowers.
So, what should you do next? Grab a jar, pick a theme, and start filling. You’ll be surprised how often you reach for that jar instead of a plastic container.
Here’s a short video that walks you through the whole transformation, from empty jar to finished storage piece. It’s perfect if you’re a visual learner who likes to see each step in action.
After the video, take a moment to assess the jar’s size. Smaller jars work great on a desk for pens and clips, while larger ones can hold bathroom basics or a mini‑terrarium of air‑plants.
Tips for Long‑Lasting Use
• Keep the lid on whenever possible – it prevents dust and keeps scents from seeping into other items.
• If you store herbs or spices, add a tiny silica packet to control moisture.
• For a cohesive look, match the jar lids with other containers in the room; a coordinated set feels intentional.
And remember, every jar you repurpose is one less piece of glass headed to the landfill. It’s a small habit that adds up to a greener home, plus you get a cute, functional accent for free.
Ready to give your clean jars a second life? Pick a spot, fill it up, and enjoy the satisfaction of turning something ordinary into a stylish storage solution.
Step 3: Upcycle Jars into Decorative Vases
So you’ve got a clean jar sitting on your counter and you’re wondering, “What now?” Imagine turning that glass into a tiny vase that showcases a fresh sprig of lavender or a handful of dried wildflowers. It’s a tiny upgrade that makes your space feel curated, and it’s one of the simplest ways to answer the question “how to reuse candle jars.”
What you’ll need
- Clean candle jar (we’re assuming you’ve already removed the wax)
- Fresh water and a pinch of horticultural charcoal (optional, keeps water clear)
- Cut stems, dried flowers, or a small succulent
- Decorative touches: twine, lace, a dab of glue, or a spray paint color you love
Got everything? Great. Let’s walk through the process step by step.
Step 1 – Choose the right jar size
If the jar is tall and narrow, it works best for long stems like roses or eucalyptus. A squat, wide‑mouth jar is perfect for a mini‑bouquet of baby's breath or a single chunky cactus. Picking the right shape saves you from cramping the flowers later.
Does the size feel right? Hold the jar up to your eye level; if the opening is at about shoulder height, you’ll have a comfortable viewing angle.
Step 2 – Prep the interior
Give the jar a quick rinse with warm water, then wipe the inside dry with a lint‑free cloth. If you’re worried about cloudy water, toss a pinch of charcoal in the bottom – it absorbs impurities without affecting the look.
Tip: A tiny dab of clear‑drying craft glue around the rim can help keep a delicate flower head from sliding out.
Step 3 – Trim and arrange your stems
Cut stems at an angle, about an inch shorter than the jar’s height. This angled cut lets the stem soak up more water and stay upright. If you’re using dried flowers, give them a quick spritz of water so they look fresh without wilting.
Start with the largest piece in the center, then fan out smaller blooms around it. Step back often – you’ll catch any awkward gaps before they become permanent.
Step 4 – Add a decorative flourish
Now’s the fun part. Wrap a piece of jute twine around the jar’s neck and knot it loosely. Or, if you love a bit of sparkle, spray a light coat of metallic paint on the lid and let it dry.
For a seasonal touch, tuck a few pine sprigs, cinnamon sticks, or even a tiny ornament into the arrangement. It turns a simple vase into a mini‑holiday display without a lot of effort.
Step 5 – Fill with water and watch
Pour room‑temperature water until it reaches just below the rim. If you’ve added charcoal, you’ll notice the water stays clear longer – perfect for a vase that lives on a windowsill.
Check the water level daily. Add more as needed, and swap out the water every few days to keep everything smelling fresh.
And there you have it: a gorgeous decorative vase made from a candle jar you were about to toss. It’s a tiny act of upcycling that feels rewarding every time you glance at it.
Extra inspiration
If you need a visual reference, Tabby’s DIY guide walks through a similar vase makeover, showing how she turned a Capri Blue candle jar into a flower holder. Her step‑by‑step photos are super helpful and prove that a little creativity goes a long way. Read the full tutorial here.
So, what’s your next vase going to look like? Grab a jar, pick your favorite greenery, and let your space bloom. It’s a simple, sustainable tweak that adds personality to any room – and you’ve just mastered another clever way to reuse candle jars.
Step 4: Make Custom Candle Holders
Now that your jar is clean and your imagination is buzzing, it’s time to turn that empty vessel into a custom candle holder that screams “you”. Whether you want a chic bedside glow, a rustic kitchen accent, or a little mood‑light for the bathroom, the same basic process works every time.
Gather the basics
- Clean candle jar (already prepped)
- New wick – cotton or wood, depending on the size
- Wick holder or metal tab (the little metal “cage” that keeps the wick centered)
- Fresh wax – leftover wax from previous candles or a new soy blend
- Optional scent boosters: essential oils, dried herbs, or a pinch of citrus zest
- Heat‑proof pitcher or double‑boiler setup
- Stirring stick, thermometer, and a small pour‑spout
Sound familiar? If you’ve ever melted wax for a new candle, you already have the toolkit. In fact, the “how to melt and reuse candle wax” guide walks through the safe double‑boiler method in detail, so feel free to give it a quick peek for confidence on melting wax safely.
Step 1 – Choose the right wick
Think about the jar’s diameter. A 2‑inch jar needs a thicker wick than a tiny votive‑size jar. As a rule of thumb, the wick should be about 1/4 inch long for every inch of jar width. If you’re using a wooden wick, make sure the jar’s walls can support the small flame without overheating.
Does that sound tricky? It isn’t – just measure, then match the wick to the size chart on your wax supplier’s label. We like to test the fit by hanging the wick from a pair of tweezers and seeing if it sits snugly in the center.
Step 2 – Secure the wick
Place the metal wick holder on the jar’s rim, then press the wick through the center hole. If the jar doesn’t have a pre‑drilled hole, use a tiny drill bit (1 mm) or a heated nail to make a neat opening. Pull the wick taut and wrap the excess around a pencil or chopstick so it stays centered while the wax cools.
Quick tip: a dab of hot glue on the rim can lock the wick in place if you’re worried about it drifting.
Step 3 – Melt the wax
Set up a double‑boiler: fill a saucepan with a couple of inches of water, bring it to a gentle simmer, then place a heat‑proof bowl on top. Add your wax chunks and stir occasionally. Keep the temperature around 170‑180°F (77‑82°C) – that’s the sweet spot for most soy waxes.
While the wax melts, consider adding a few drops of lavender essential oil for a calming vibe, or a sprinkle of dried rosemary for a kitchen‑friendly aroma. Remember, a little goes a long way.
Step 4 – Pour and personalize
When the wax is fully liquid and any fragrance is blended, let it cool just enough so it thickens slightly (about 130°F/54°C). Then, slowly pour it into the jar, keeping the wick centered. If you want a layered look, let the first layer set, then add a contrasting color or a thin drizzle of scented wax on top.
Need visual inspiration? The Swoon Worthy article showcases dozens of clever ways people have turned empty candle jars into functional décor, from desk organizers to mini‑planters. Those ideas can spark a unique twist for your holder on creative jar repurposing.
Step 5 – Let it set
Leave the jar undisturbed for at least four hours, or overnight if possible. Once the wax hardens, trim the wick to about ¼ inch above the wax surface. Light it, step back, and admire the glow you just created from a jar that once held a completely different scent.
Finishing touches
Consider decorating the outside of the jar: a sprig of dried eucalyptus, a ribbon of jute twine, or a dab of Mod Podge painted with a subtle pattern. These small details make the holder feel intentional rather than “just another jar”.
And there you have it – a custom candle holder that’s as personal as your favorite playlist. It’s cheap, it’s sustainable, and it gives you a little moment of pride every time the flame flickers.
So, what will you fill your new holder with? A soft vanilla scent for bedtime, a bright citrus burst for the kitchen, or maybe a seasonal spice blend for the holidays? The choice is yours, and the jar is ready.
Step 5: Compare Top Reuse Ideas
Alright, you’ve already turned a jar into a storage bin, a vase, and a custom candle holder. Now comes the fun part – figuring out which of those ideas fits your space, style, and schedule the best. It’s a little like dating: you want to match personality with purpose.
Do you crave a quick‑grab bathroom organizer that you can set up in five minutes? Or are you looking for a statement piece that doubles as a scent diffuser for a cozy evening? Below we break down the three most popular reuse routes, weigh the pros and cons, and give you a cheat‑sheet to decide fast.
1. The Everyday Organizer
This is the go‑to for anyone who loves tidy countertops but hates buying plastic bins. A clean candle jar holds cotton balls, Q‑tips, spare buttons, or even tiny craft supplies. The beauty is that you can slip a piece of parchment or fabric at the bottom to keep things from shifting.
Tip: Wrap a jute twine around the lid for a rustic vibe that matches a farmhouse kitchen. It’s cheap, it looks intentional, and it’s easy to swap out when you want a fresh look.
2. The Mini‑Terrarium Vase
If you’ve got a green thumb (or at least a penchant for succulents), turning a jar into a tiny terrarium adds life without demanding a lot of care. Choose a wide‑mouth jar for a shallow soil bed, add a layer of pebbles, then pop in a few air‑plants or a rosette of baby‑succulents.
Pro tip: A pinch of charcoal at the bottom keeps the water clear, extending the life of your little garden.
3. The Custom Candle Holder
When you want a mood‑setting glow, repurposing the jar back into a candle is a satisfying full‑circle moment. Pick a wick that matches the jar’s diameter, melt some leftover wax, and pour. A dab of dried eucalyptus or a ribbon of twine on the outside adds personality without extra cost.
Need a refresher on getting the wax out before you start? Check out this guide on how to remove wax from a candle jar – it walks you through a safe, low‑tool method.
So, which one feels right for you today? If you’re juggling a busy morning routine, the organizer wins. If you want a touch of nature on a bookshelf, the terrarium takes the cake. And if you’re planning a quiet night in, the custom holder is the mood‑setter.
Below is a quick‑look table that sums up the key differences. Use it like a decision‑making cheat sheet – glance, compare, and pick the project that makes you smile.
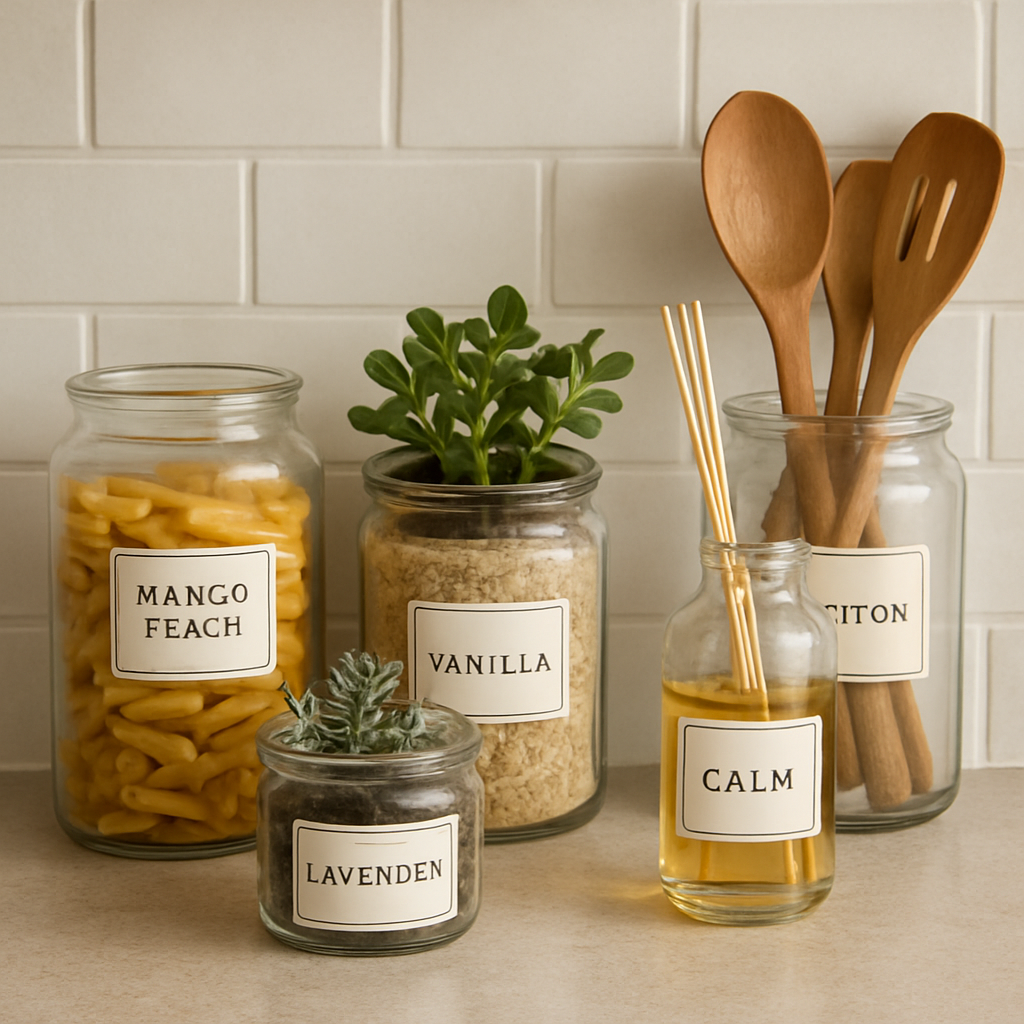
| Idea | Best Use | Quick Tips |
|---|---|---|
| Everyday Organizer | Bathroom or desk clutter | Line bottom with parchment; add jute twine lid |
| Mini‑Terrarium Vase | Display succulents or air‑plants | Use charcoal layer; choose wide‑mouth jar |
| Custom Candle Holder | Ambient lighting & scent | Match wick size; seal lid with dried herb |
Take a moment now: grab the jar that’s closest at hand, pick the idea that resonates, and set a timer for 20 minutes. You’ll be surprised how quickly a simple repurpose can turn a leftover container into a piece you actually love.
Remember, the goal isn’t to create a museum‑grade craft – it’s to give the jar a second life that makes everyday moments a little brighter. Happy reusing!
Additional Tips and Safety Considerations
We get it—once the candle’s gone, the jar feels like a little mystery waiting to be solved. Before you jump straight into a DIY organizer or a mini‑terrarium, a few safety checkpoints can save you a broken jar (and a bruised ego).
Safety First: Handling Hot Wax
First up, always let the wax cool completely. Hot wax can splash, and the glass expands when heated—both are recipes for cracks.
If you’re in a hurry, the butter‑knife method from Scented Wick Works works fine, but it still requires the jar to be room‑temperature before you start scraping.
Cleaning Tips That Keep the Jar Intact
Here’s a quick safety checklist you can print and stick on the fridge:
- Keep the jar away from open flames until all wax is removed.
- Use a towel or oven mitt when moving a warm jar.
- Never pour melted wax down the sink—let it harden and toss it in the trash.
- If you notice a chip, seal the edge with a food‑grade silicone sealant before using the jar for food‑related storage.
When you clean the jar, avoid soaking the decorative wrap (if your candle had one) because water can loosen adhesives. A gentle wash with warm, soapy water and a soft sponge does the trick, and a quick rinse with rubbing alcohol removes any lingering wax film around the rim.
Preventing Breakage
What about breaking the glass? Even a sturdy candle jar can shatter if it takes a sudden temperature shock. To prevent that, never transfer a hot jar straight into cold water; let it cool for at least ten minutes, then submerge it in lukewarm water for the final rinse.
If you plan to repurpose the jar as a planter, remember that soil can hold moisture against the glass. Adding a thin layer of pebbles or charcoal at the bottom creates a moisture barrier and reduces the risk of the jar cracking over time.
Choosing the Right Materials
Choosing the right lid matters, too. Metal lids can rust if they stay damp, so dry them thoroughly or swap them for a cork stopper when you’re storing dry items like cotton balls or herbs.
Mindful Storage
Finally, store your finished projects where they won’t get knocked over. A low‑traffic shelf or a dedicated tray keeps the jar safe and also makes it easy to enjoy the piece without constantly worrying about accidents.
By keeping these extra tips in mind, you’ll turn each jar into a lasting, safe accent rather than a one‑off experiment. Happy reusing!
Conclusion
We've walked through everything from removing the last wax residue to turning that glass into a sleek storage jar, a tiny terrarium, or a custom candle holder.
So, what’s the big takeaway? A clean candle jar is a ready‑made canvas, and you already have the tools—hot water, a spoon, a bit of twine—to give it new life without spending a dime.
When you repurpose, you’re not just saving trash; you’re adding a personal touch to your home that mass‑produced décor can’t match. Think about the satisfaction of reaching for a jar that you handcrafted, whether it holds cotton balls in the bathroom or a sprig of lavender on the nightstand.
Here are three quick reminders before you start your next project:
- Let the jar cool completely before any hot‑water bath to avoid cracks.
- Line the bottom with charcoal or pebbles when you’re planning a plant to keep moisture away from the glass.
- Seal metal lids dry, or swap them for a cork stopper for long‑term storage.
Ready to give those empty jars a second chapter? Grab the nearest one, pick a purpose, and enjoy the tiny win of turning waste into something beautiful. Happy reusing!
You'll notice how simple sustainability feels when every jar tells a story.
FAQ
Can I safely reuse a candle jar that had scented wax?
Yes, you can reuse a scented‑wax jar, but give it a good wipe‑down first. After the wax is melted or scraped off, wash the interior with warm, mild dish soap and a soft sponge. Rinse thoroughly and let it air‑dry upside‑down.
A quick scent‑neutralizing rinse of diluted white vinegar (one part vinegar to three parts water) helps erase lingering perfume, so your next project won’t carry the old fragrance.
What's the best way to remove leftover wax without cracking the jar?
Your safest bet is the hot‑water bath method. Fill a pot with enough water to cover the jar, bring it to a gentle boil, then lower the jar in with tongs. Let it simmer 5‑7 minutes; the heat loosens the wax, which rises to the surface.
Scoop it out with a metal spoon, then give the jar a quick soap‑and‑water rinse. Avoid sudden temperature changes—never dunk a hot jar into ice water or it may crack.
How do I turn a clean candle jar into a mini‑terrarium?
Start by picking a wide‑mouth jar so the soil has room to breathe. Place a thin layer of pebbles or charcoal at the bottom—this acts like a drainage tray and keeps water from soaking the glass.
Add a spoonful of lightweight potting mix, then gently set in a few air‑plants or small succulents. Mist sparingly and keep the jar out of direct sun; the glass creates a mini greenhouse that needs only occasional watering.
Are there any food‑safe uses for repurposed candle jars?
Glass that’s been cleaned thoroughly can become a charming pantry holder for dry herbs, tea bags, or homemade spice blends. After washing, give the jar a quick sanitizing rinse with boiling water or a diluted bleach solution (one teaspoon per quart of water), then let it air‑dry.
Slip a piece of parchment or a small mesh bag inside to keep crumbs out. Just make sure the lid you use is food‑grade—metal lids are fine once they’re completely dry.
How can I personalize the lid without buying expensive hardware?
If you want a pretty lid without spending on a fancy cork, try wrapping jute twine around the metal rim and tying a loose bow. A dab of Mod Podge mixed with a tiny splash of your favorite essential oil gives a subtle scent and a glossy finish.
You can also glue on a small dried flower or a piece of pressed leaf for a rustic look—just use a craft glue that dries clear so the jar still looks sleek.
What are the common mistakes that cause jars to break when I reuse them?
The biggest culprit is thermal shock—dropping a hot jar into cold water or putting it straight into the freezer right after cleaning. Glass also hates sudden impacts, so handle it with a towel or oven mitt when it’s still warm.
Another slip is over‑filling with heavy items like large stones; the weight can stress the bottom. To avoid these pitfalls, always let the jar cool to room temperature, use gentle cleaning solutions, and keep the load light.
How often should I clean a repurposed jar that holds dry items?
If you’re using a jar for dry supplies like cotton balls or craft bits, a quick wipe with a dry cloth every few weeks keeps dust at bay. For items that sit longer—say a spice mix or tea bags—give the jar a full wash with warm, soapy water once a month and dry it upside‑down.
Regular upkeep not only looks nicer, it also prevents any lingering scent from creeping into new projects.
0 comments