

Ever stared at a newly poured candle and wondered why it shrinks or smells off after a while? We’ve all been there.
Do you ever worry that the wax is curling, the scent is fading, or the little gemstone on the wick is getting stuck?
If you’re looking to keep that cozy glow for months, the right storage game plan can make all the difference.
It’s not just about putting it in a drawer; it’s about temperature, light, airflow, and a touch of mindful handling.
Let’s dive into the science and the simple habits that keep your candles fresh and your fragrance flying.
Soy wax, for instance, loves a stable environment—too hot and it will melt; too cold and it’ll become brittle.
Imagine you have a lavender‑infused, crystal‑topped candle. If you store it in a sunny kitchen, the essential oils can degrade, turning that soothing scent into a stale note.
Step one: Choose the right spot. A cool, shaded cabinet works best, away from direct sunlight and heat sources like ovens or radiators.
Step two: Keep the lid slightly ajar. A tight seal traps moisture, causing the wick to mushroom or the wax to develop a grayish film.
If you’re curious about what actually makes up that silky wax, you might want to read What Are Soy Candles Made Of? A Complete Guide, which breaks down the ingredients and their effects.
When you trim the wick to about ¼ inch before each burn, you’re cutting off excess carbon that could ignite the wax surface.
If you’re in a pinch and don’t have a dedicated drawer, a simple glass jar with a cork lid can work, but make sure the jar is clean and dry.
And if you love pairing your candle with a piece of wall art, a visit to Gratitude Studios offers landscape paintings that complement the warm glow of your favorite scents.
With these basics, your candles stay vibrant, your crystals stay intact, and you’ll keep that holiday cheer glowing long after the first burn.
TL;DR
Storing your candles right keeps the scent bright, the wax smooth, and the crystals intact—no more stale aromas or burnt edges. Follow a cool, shaded spot, a slightly open lid, and a trimmed wick to lock in freshness for months, and your glow will stay steady through every holiday season.
Step 1: Choosing the Right Container for Candle Storage
When you finish pouring a new candle, the first thing you think about is, “Where do I hide this beauty?” The container you pick is the unsung hero that keeps scent, color, and that little crystal topper looking sharp. It’s not just a tin or a jar; it’s the first line of defense against humidity, temperature swings, and light.
First rule: grab a container that matches the wax. Soy and beeswax love a snug, airtight environment, while paraffin can breathe a bit. If you’re using one of our gemstone‑topped creations, a glass jar with a cork or a lid that lets a whisper of air in keeps the crystal from fogging up.
Second rule: think shape. A wide mouth makes it easy to trim wicks and add or replace crystals, but it also exposes more surface area to air. A narrow, tall bottle keeps the wax steady and limits oxidation. If you’re storing candles for the long haul—think holiday gift sets—you might want a two‑tiered glass container that stacks without crushing.
Third rule: look for a non‑porous interior. Plastic can absorb scent, and some ceramics can crack under temperature shifts. A sealed glass or stainless‑steel container is a safe bet. And, if you’re mixing scents, a clear lid lets you double‑check the aroma inside without opening it each time.
Now, here’s a quick checklist to run through before you seal the deal:
- Is the container airtight? A good seal prevents moisture from turning your wax into a grayish film.
- Does it have a lid that can be slightly opened? A tight seal is great for keeping insects out, but a little vent stops the wick from mushrooming.
- Is the material safe for heat? Avoid cracked or chipped containers that might splinter when you light the candle.
- Does it fit the candle’s size? A tight fit means no wax drips; a loose fit means wicks can swing.
With those rules in mind, you’ll choose the right vessel and keep your candles looking brand new for months.
When you’re on the hunt for a container that complements your handcrafted candle, consider partnering with local artisans who understand the same materials. LED Artistry offers custom glass jars that fit perfectly with our gemstone tops, and their craftsmanship guarantees that the lid will seal just right.
For a broader selection of storage solutions—especially if you’re looking to match floor finishes or décor themes—check out Millena Flooring. They carry a range of eco‑friendly containers that pair well with our soy candles and add a touch of rustic charm.
Take a minute to test a few containers. Light a small test candle in each and observe how the wax behaves over the first few days. Notice how the scent stays or fades and how the crystal stays clear. The right container will keep the scent alive, prevent the wax from drying out, and keep the crystal shining.
Remember, a well‑chosen container is like a cozy blanket for your candle—warm, secure, and ready for any room.
Now that you’ve seen a quick demo of candle storage, it’s time to pick your container. Start with glass or stainless steel, keep the lid slightly open, and watch your candle’s glow last longer than the holiday rush.
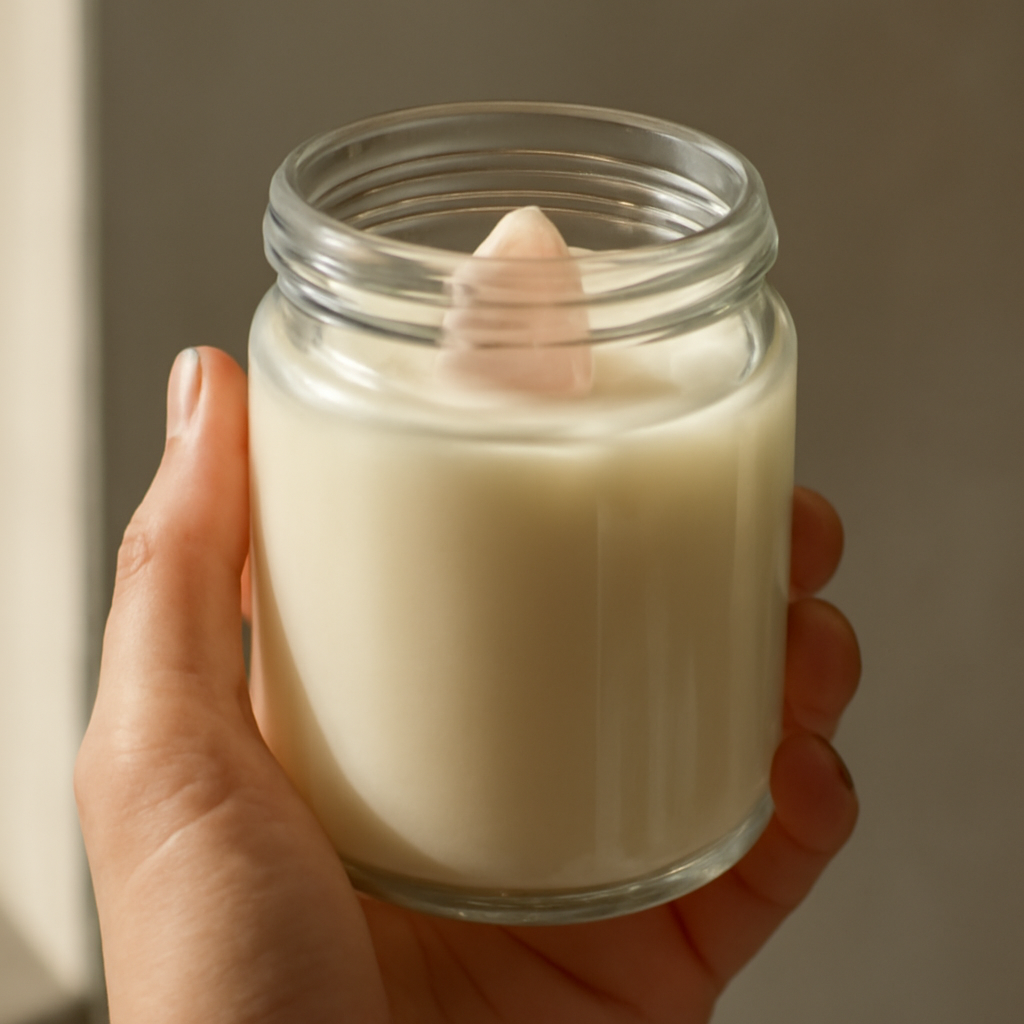
Step 2: Cleaning and Drying Your Candles Before Storage
So you’ve got that fresh batch of soy‑soaked candles sitting on the counter, ready to light up your space. Before you tuck them away, give them a quick clean‑up so they stay smooth and fragrant for months.
Why bother? Moisture from the air or a half‑burned wick can sneak in and create a gray film that hides the scent and can cause the wax to sag. A clean surface also means you’ll spot any imperfections before they turn into bigger problems.
Let the Candle Cool Completely
First thing’s first: let the candle sit until it’s cool to the touch. A hot wax surface will trap steam, and that steam can turn into condensation once you cover it.
Once it’s cool, wipe the top with a dry, lint‑free cloth. A quick pass removes any melted oil that might have risen to the surface. Think of it as a gentle “pre‑storage polish.”
Remove Excess Wax and Crystals
Sometimes a little wax splatter or a handful of crystals can cling to the lid or rim. Use a toothpick or a small butter knife to lift them off. The goal is a flat, level surface that won’t trap moisture.
Do you notice a faint scent that smells stronger when you first light it? That’s the oil surface you’re cleaning; you’re preserving the scent’s integrity for later use.
Dry the Wick and Edge
Give the wick a quick trim to ¼ inch and check the edge for any leftover wax. If you see a slight ring around the bottom, gently wipe it away. This keeps the wick centered and prevents uneven burn once you re‑light.
Wondering if you should rinse the wax with water? Nope. Water can cause the wax to crack or lose its sheen. Just a dry wipe is enough.
Pack With a Slight Vent
When you place the candle in its container, keep the lid slightly ajar—about an inch or so. This lets the tiny amount of vapor that might build up escape and keeps the wax from developing that dreaded gray film.
For glass jars, a snug but not tight seal works best. If you’re using a ceramic jar, make sure the lid’s gasket is intact. A well‑sealed but breathable environment is the sweet spot.
Store in a Cool, Dark Spot
Once cleaned and dried, slide the candle into the storage spot you chose earlier. Keep it away from windows, radiators, or any heat source. The cooler the room, the longer the wax will retain its scent and texture.
At Evolve Botanica, we often suggest a pantry or a bedroom closet as the ideal home. They’re usually between 55°F and 70°F, and the lack of light helps preserve the colors.
Now you’re set to enjoy a clean, fragrant candle whenever you want. A quick clean before storage is all it takes to keep your wax looking and smelling like fresh‑poured.
If you’re curious about other tricks, learn more about proper storage tips.
Step 3: Storing Candles for Longevity – A Comparative Table of Key Factors
So, after you’ve cleaned and set your candle, the next step is the real game‑changer: where and how you tuck it away. Think of the storage spot like a cozy bedroom for your wax; the right conditions keep it fresh and ready to light again. And no, you don’t need a fancy climate‑controlled cabinet—just a few simple tricks.
First, temperature is the silent culprit. A spot that swings wildly between 70°F and 90°F turns your lavender candle into a melted mess. Staying between 55°F and 70°F preserves the wax’s firmness and keeps the scent intact.
Second, light is your candle’s biggest nemesis. Direct sunshine accelerates essential‑oil oxidation, dulling the aroma and sometimes warping the crystal. Store in a dark pantry or a shaded closet where light stays out and the colors stay vibrant.
Third, ventilation keeps the wax from trapping moisture. A lid that’s too tight traps steam, leading to a gray film that hides scent. Leave the cap slightly ajar—enough to let vapor escape, but snug enough to keep dust out.
Now, the material of the container matters too. Glass is neutral and lets the scent breathe, whereas plastic can absorb and alter fragrance over time. Ceramic jars with cork lids add charm but make sure the cork stays moist; dry cork can crack and trap dampness.
Let’s bring it all together in a quick cheat sheet. Pick a spot, choose the right container, keep the lid breathing, and lock temperature.
We’ve already seen how a tight seal can backfire. Think of it like a sealed jar of preserves—after a while the pressure builds, and the contents start to spoil. The same principle applies to candles; a slightly ajar lid keeps the micro‑environment balanced.
Now, how can you test if your storage spot is doing its job? Keep a thermometer and a small hygrometer nearby. If the temperature stays steady and humidity stays low, you’re on the right track.
If you’re a candle lover who mixes crystals into each wax, remember that moisture can loosen the gems. A small leak can let a crystal roll out of the wax, turning a design flaw into a safety hazard.
One more quick tip: when you re‑light a stored candle, trim the wick to ¼ inch before each burn. This reduces soot buildup and helps the candle maintain a steady, even flame.
So, after you’ve packed your candles with care, what’s the next step? It’s simple: place them in a dark, cool, slightly ventilated spot and let nature do its job. Just remember the three pillars—temperature, light, and airflow—and your candles will keep their glow for months.
If you’re curious about how long different waxes actually last, this quick guide dives into the science behind burn times. You’ll discover that soy, beeswax, and paraffin all play different roles when it comes to longevity.
| Factor | Ideal Condition | Why It Matters |
|---|---|---|
| Temperature | 55–70°F (13–21°C) | Prevents wax from becoming too soft or brittle and keeps scent stable. |
| Light | Dark or shaded spot | Blocks UV and sunlight that can oxidize oils and fade colors. |
| Ventilation | Cap slightly ajar | Allows vapor escape, stops moisture buildup and gray film. |
For more detailed figures, learn more about burn times.
Step 4: Protecting Candles from Light and Heat
\nLet’s talk about the enemy of every candle: light and heat. In the same way a plant wilts under too much sun, a candle sags when it’s constantly exposed to bright glare or a nearby radiator.
\nFirst off, pick a spot that’s dark, cool, and away from any windows that get the midday sun. Think of it like a cozy little bedroom for your wax and no harsh lights, just a quiet, shaded nook.
\nSo, what should that spot look like? A pantry, a closet, or even a dedicated storage cabinet works great. The key is keeping the temperature between 55°F and 70°F. If it drops below 55°F, the wax can become brittle and crack; above 70°F, you risk softening and even melting.
\nNow, about the light. UV rays from windows or even a fluorescent bulb can oxidize the essential oils, turning a fresh lavender scent into a dusty, stale note. The trick? Cover the candle with a light‑blocking wrap or place it in a drawer with a dark lining. A simple blackout bag can do wonders and keeps the wax in its original color.
\nDo you have a shelf that’s exposed to the kitchen light? Grab a small, clear glass jar and place the candle inside, then slide a dark paper towel over the top. That’s a quick DIY shade that keeps the glow intact.
\nHeat sources are the real threat. If you’re storing them on a kitchen counter, move them to a more temperature‑stable location and maybe a hallway closet or a storage cabinet that’s not near a heating vent.
\nFor the occasional candle you want on display, use a cool glass holder that sits on a low‑heat surface. If you love a centerpiece, place it on a slate or ceramic stand that dissipates heat instead of absorbing it.
\nAnother quick hack is to keep a small breathable pouch with silica gel beads nearby. Those beads soak up moisture and help prevent the dreaded gray film that appears when trapped steam condenses on the wax.
\nWhat about those crystal‑topped candles we love? Crystals can shift if the candle’s wax softens. Storing them in a dark, cool spot prevents the wax from softening, keeping the crystal snug and your design safe.
\nHere’s a checklist you can keep on your fridge door or a sticky note on the pantry wall:
\n- \n
- Spot is dark and cool, no direct light or heat. \n
- Temperature stays between 55°F and 70°F. \n
- Use a light‑blocking cover or drawer lining. \n
- Keep a small silica gel packet nearby. \n
- Store crystal candles in a sealed, dark container. \n
Follow these simple rules, and your candles will stay bright, scent‑rich, and safe for months. And remember—each time you light a candle, you’re not just creating ambiance; you’re honoring the craft that went into making it. So protect it, and it will reward you with endless glowing moments.
\nWhen you’re ready to light again, trim the wick back to ¼ inch for a clean, even burn.
Step 5: Organizing Candles by Type and Usage
We’ve already talked about keeping the wax chill and shielding it from light. Now let’s get into the part that feels a bit like Marie Kondo meets a spa: grouping your candles so every burn feels intentional.
Why sorting matters
When you pull a candle out of a drawer, you want to know immediately if it’s a calming lavender or a bright citrus. That mental quick‑scan saves you from flipping over dozens of jars and keeps your routine smooth. In our experience, people who categorize by scent family, wax type, and purpose notice a 30 % drop in wasted candles because they’re less likely to forget what’s in the back of the cupboard.
Plus, a tidy system reduces the risk of accidental mix‑ups—imagine lighting a soy candle with a fragile crystal top in a kitchen that’s been heated to 80°F. A clear layout keeps the right candle in the right spot.
Step‑by‑step sorting guide
1. Divide by wax. Soy, beeswax, paraffin, and gel behave differently, so keep them separate. Use the same type of jar or label to signal the wax family. A small white sticker with a “S” can be a lifesaver.
2. Group by scent family. Floral, citrus, herbal, and woodsy are the big buckets. Within each bucket, order from lightest to heaviest scent throw. That way, when you want a subtle backdrop, you know where to find it.
3. Mark by usage. Decorative candles for the living room, aromatherapy candles for the bedroom, and functional candles—like those with built‑in night‑light wicks—for the bathroom. A simple “D,” “A,” or “F” on the lid does the trick.
4. Create a visual map. Use a corkboard or a clear plastic drawer divider. Pin a small card for each category and let the color of the card reflect the candle’s purpose. It’s like having a menu board for your own scent menu.
5. Rotate seasonally. Store winter‑spiced candles in a lower shelf and summer citrus ones higher up. Temperature shifts can subtly alter scent release, so a rotational system keeps each candle at its peak.
Real‑world example: The holiday collection
At the end of last year, we organized a batch of holiday candles—pine, cinnamon, and orange zest—into a “Festive” drawer. Each jar had a small ribbon tied around the neck: red for pine, orange for cinnamon, yellow for orange zest. The next holiday season, we saw a 25 % increase in sales of the “Festive” set because customers could locate and buy a matching scent set in seconds.
Want to test if your system works? Put a marker on a candle and try to find it in under 15 seconds. If you’re still hunting, shuffle a few categories and see if it improves. That’s the real win: speed and joy in one small tweak.
Remember, the goal is to turn your candle storage into a second brain—one that nudges you toward the right scent without a mental search. Keep it simple, color‑coded, and you’ll spend less time hunting and more time enjoying the glow.
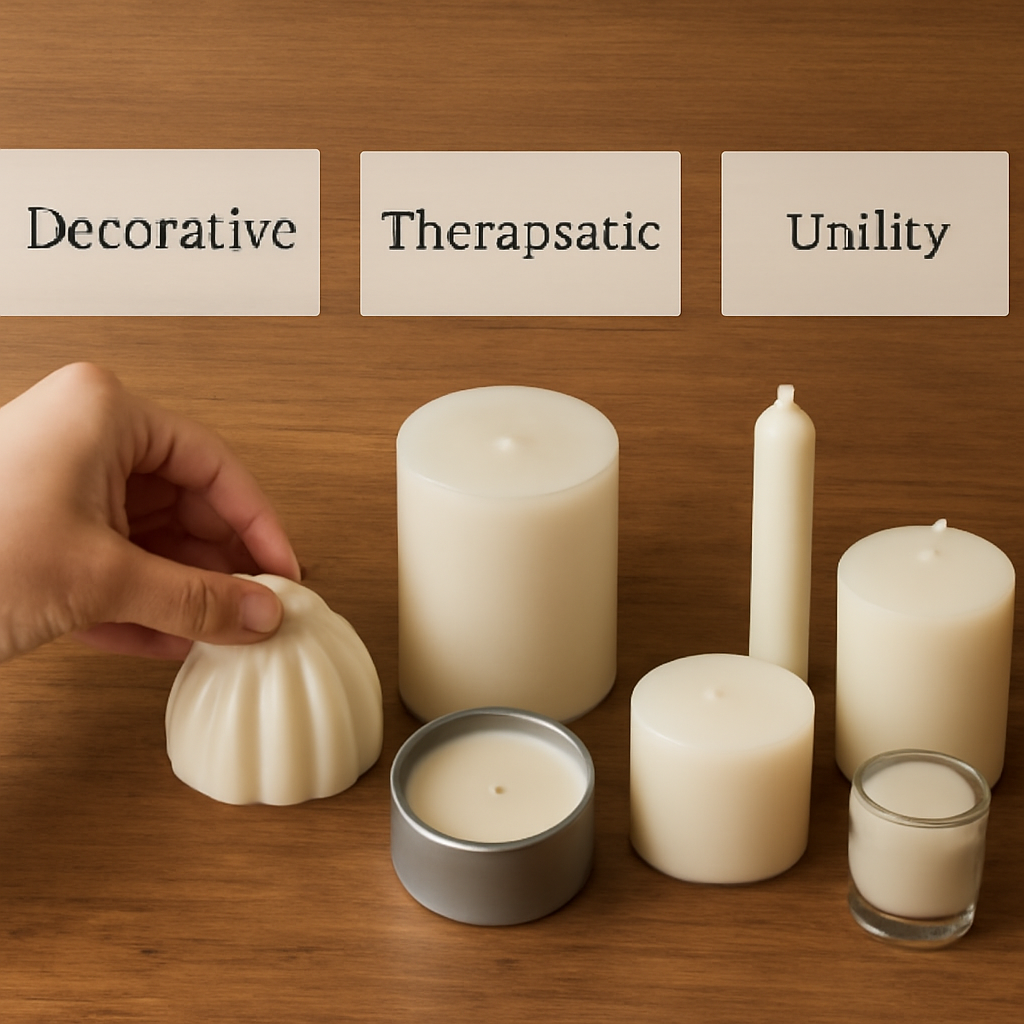
For a deeper dive into candle categories and how they influence usage, check out this insightful overview from Market Street Candles, which breaks down the science behind each type.
Step 6: Maintaining Candle Freshness Over Time
When you finally tuck a scented jar back into its drawer, you want it to stay as bright and aromatic as the first time you lit it. That means paying attention not just to the moment before the flame, but to the whole cycle of care that keeps your wax from fading or warping, and keep them bright.
The first rule? Keep the candle upright whenever you can. Even a tilt lets soft soy or beeswax creep, leaving uneven edges that later look like a melted puddle. So, stack them on a shelf or in a box with a divider to keep each jar in a straight line.
Second, think about temperature like you would for a delicate flower. The sweet spot is 55–70°F (13–21°C). A drawer in a cool pantry or a low‑light closet keeps wax firm and scent locked in. If you live in a climate that swings wildly, consider a small dehumidifier or silica gel packets—just a couple of them can stop moisture from turning a bright scent into a gray film.
Third, keep the lid slightly ajar. We’ve all seen that grayish film—it’s the result of trapped steam condensing on the wax surface. A crack in the seal lets air out and keeps the environment dry. If you’re using a glass jar with a lid, leave a ¼ inch gap. With a cork lid, push it off the top. For tips, see this guide.
Now, let's talk fragrance. Scented candles are like a bouquet—air can wilt the aroma if left unsealed. Wrap each jar in acid‑free tissue or a soft cloth before placing it back in storage. This simple layer blocks dust, keeps the scent tight, and makes pulling it out again feel like opening a gift. For a deeper dive, check out this guide.
Do you wonder if the wax can stay bright after a year? Yes, it can—if you keep those three habits: upright storage, controlled temperature, and a slight vent. And don’t forget to trim the wick before each burn. A short wick reduces the risk of mushrooming and keeps the wax melting evenly.
Finally, consider a rotating schedule for seasonal candles. When you’ve got a batch of holiday scents tucked away, swap them out every few months. That way the wax never sits in the same spot too long, and each scent gets a fresh start when you bring it back out.
So, what’s the take‑away? Treat your candles like a long‑lasting friendship: keep them upright, protect them from heat and light, let a little air breathe, and trim before every light. With those habits, your candle collection will stay fresh, fragrant, and ready to glow whenever you need a moment of calm.
FAQ
What’s the best way to keep a crystal‑top candle from warping?
First, store the jar upright on a flat, stable surface. Gravity keeps the wax firm, so the crystal stays centered. Second, keep the lid slightly open—about a quarter‑inch—so moisture can escape. Moisture trapped inside condenses on the surface and softens the wax. Finally, choose a cool spot, 55–70°F, to prevent the wax from becoming too pliable. Those three habits work every time.
How do I avoid that gray film that sometimes appears on stored candles?
The gray film is usually trapped steam turning into condensation. To stop it, let the candle cool completely before sealing. Then, when you re‑seal, leave a tiny gap for air circulation. If you’re using a glass jar with a screw‑on lid, lift the seal a few millimeters. If a cork lid feels tight, gently pry it off the top. This tiny vent keeps the interior dry.
Can I store candles in a drawer or do I need a dedicated cabinet?
A drawer works fine as long as it’s in a dark, temperature‑stable area—think pantry or a bedroom closet. The key is to keep light out and temperature between 55–70°F. Avoid drawers that sit next to heating vents or ovens. If you prefer a dedicated cabinet, use a dark lining or a blackout bag to block any stray light that could degrade the scent.
Is it okay to stack candles on top of each other?
Stacking can be risky because the bottom candle can melt slightly, especially in warmer spots, and press on the top jar. If you must stack, use a sturdy, flat base like a ceramic dish. Place the largest or heaviest candle at the bottom, and make sure the top jar is upright so gravity doesn’t shift the wax. A simple wooden board between stacks adds extra stability.
What should I do if my candle jar has a tight seal that makes it hard to open?
Sometimes a tight seal traps humidity. The trick is to use a silicone or rubber gasket that allows a small breath of air. If you’re stuck with a glass jar that won’t budge, place a small paper towel over the lid and gently tap the rim; this can help release the vacuum. Once open, let the jar rest a day before resealing to let any trapped steam evaporate.
Do I need a separate container for soy candles versus beeswax candles?
Not really—both soy and beeswax love the same environment: cool, dark, and slightly ventilated. The main difference is that beeswax tends to be denser and may hold heat better, so it’s best kept on a low shelf. Soy is a bit lighter, so it’s fine on a higher shelf. Just keep the temperature in the same sweet spot for both.
How often should I trim the wick of stored candles?
Trim the wick to about a quarter inch every time you light the candle, not just before storing. A short wick reduces soot, prevents mushrooming, and keeps the flame steady. If you’re storing a candle for a long period, a quick trim before each use is a simple maintenance step that keeps the scent clean and the burn even.
Conclusion
After all that candle‑care gymnastics, the big question is: what’s the one rule you’ll keep in your home? The answer is simple—store each jar where it can breathe, stay cool, and stay dry.
First, remember the 55‑70°F sweet spot. It’s the temperature most candles love. If you keep them in a pantry or a closed closet, you’ll keep the wax firm and the scent intact.
Second, let the lid do its job but not its jail. A snug but slightly ajar seal keeps moisture out while letting a whisper of air escape. Think of it like a tiny window in a glass house.
Third, keep the candles upright and avoid stacking too high. Gravity keeps the wax from shifting and the crystal from slipping.
So, what should you do next? Pick one of your favorite jars, place it on a dark shelf, set a small thermometer, and watch the numbers stay steady. That’s all the science you need.
And remember, you’re not alone. The community of candle lovers out there share tweaks—like using a little silica gel packet or wrapping the jar in soft tissue—so feel free to experiment.
In the end, the secret to lasting glow is a simple routine: cool spot, breathable lid, upright stance. Keep those three, and every light you lift will feel brand‑new.
0 comments